Airrings
The brief was to create a luxury product to be sold at Christmas time. The product had to be digitally designed and use 3D printing in some way and have an interesting story attached to it.
A very open ended brief, which I saw as an opportunity to learn a new skill: jewellery making.
Timeline
3 months (September to December 2021)
Software
Fusion 360, Photoshop, InDesign
Skills
DFM, jewellery design, 3D printing, silicon moulding, silversmithing, CAD, photoshop, photography, logo design, branding, selling handmade products, casting

Initial research
Knowing the customer
An initial brainstorm customer profile was made to get a clearer insight in who I was designing for. In summary they were someone with an artistic/design background, who was looking to gift a sleek, luxurious, smaller product to a likeminded person. This project also took place during Covid, therefore that was taken into account when creating the product.


Main ideas explored:
home working
bringing the outdoors into the home
sustainability
common luxury gifts - something that you want to receive (not need)

I searched for similar products on art museum and design museum websites as well as visiting gift shops for some inspiration.
Initial ideas
I decided I wanted to create a piece of jewellery in a contemporary way, inspired by outside world. After looking into natural forms I settled on drawing inspiration from aerial photos of the world to create my shapes.

To get a feel for size and how they look on the body I modelling some of my preferred designs in cardboard and polymer clay.

Modelling initial designs


Choosing a manufacturing method + material
Final product had to be skin-safe
Process had to involve digital manufacturing (it didn’t have to be 3D printed itself, it could be cast in something from a print)
product had to feel luxurious
Product had to sell with a profit


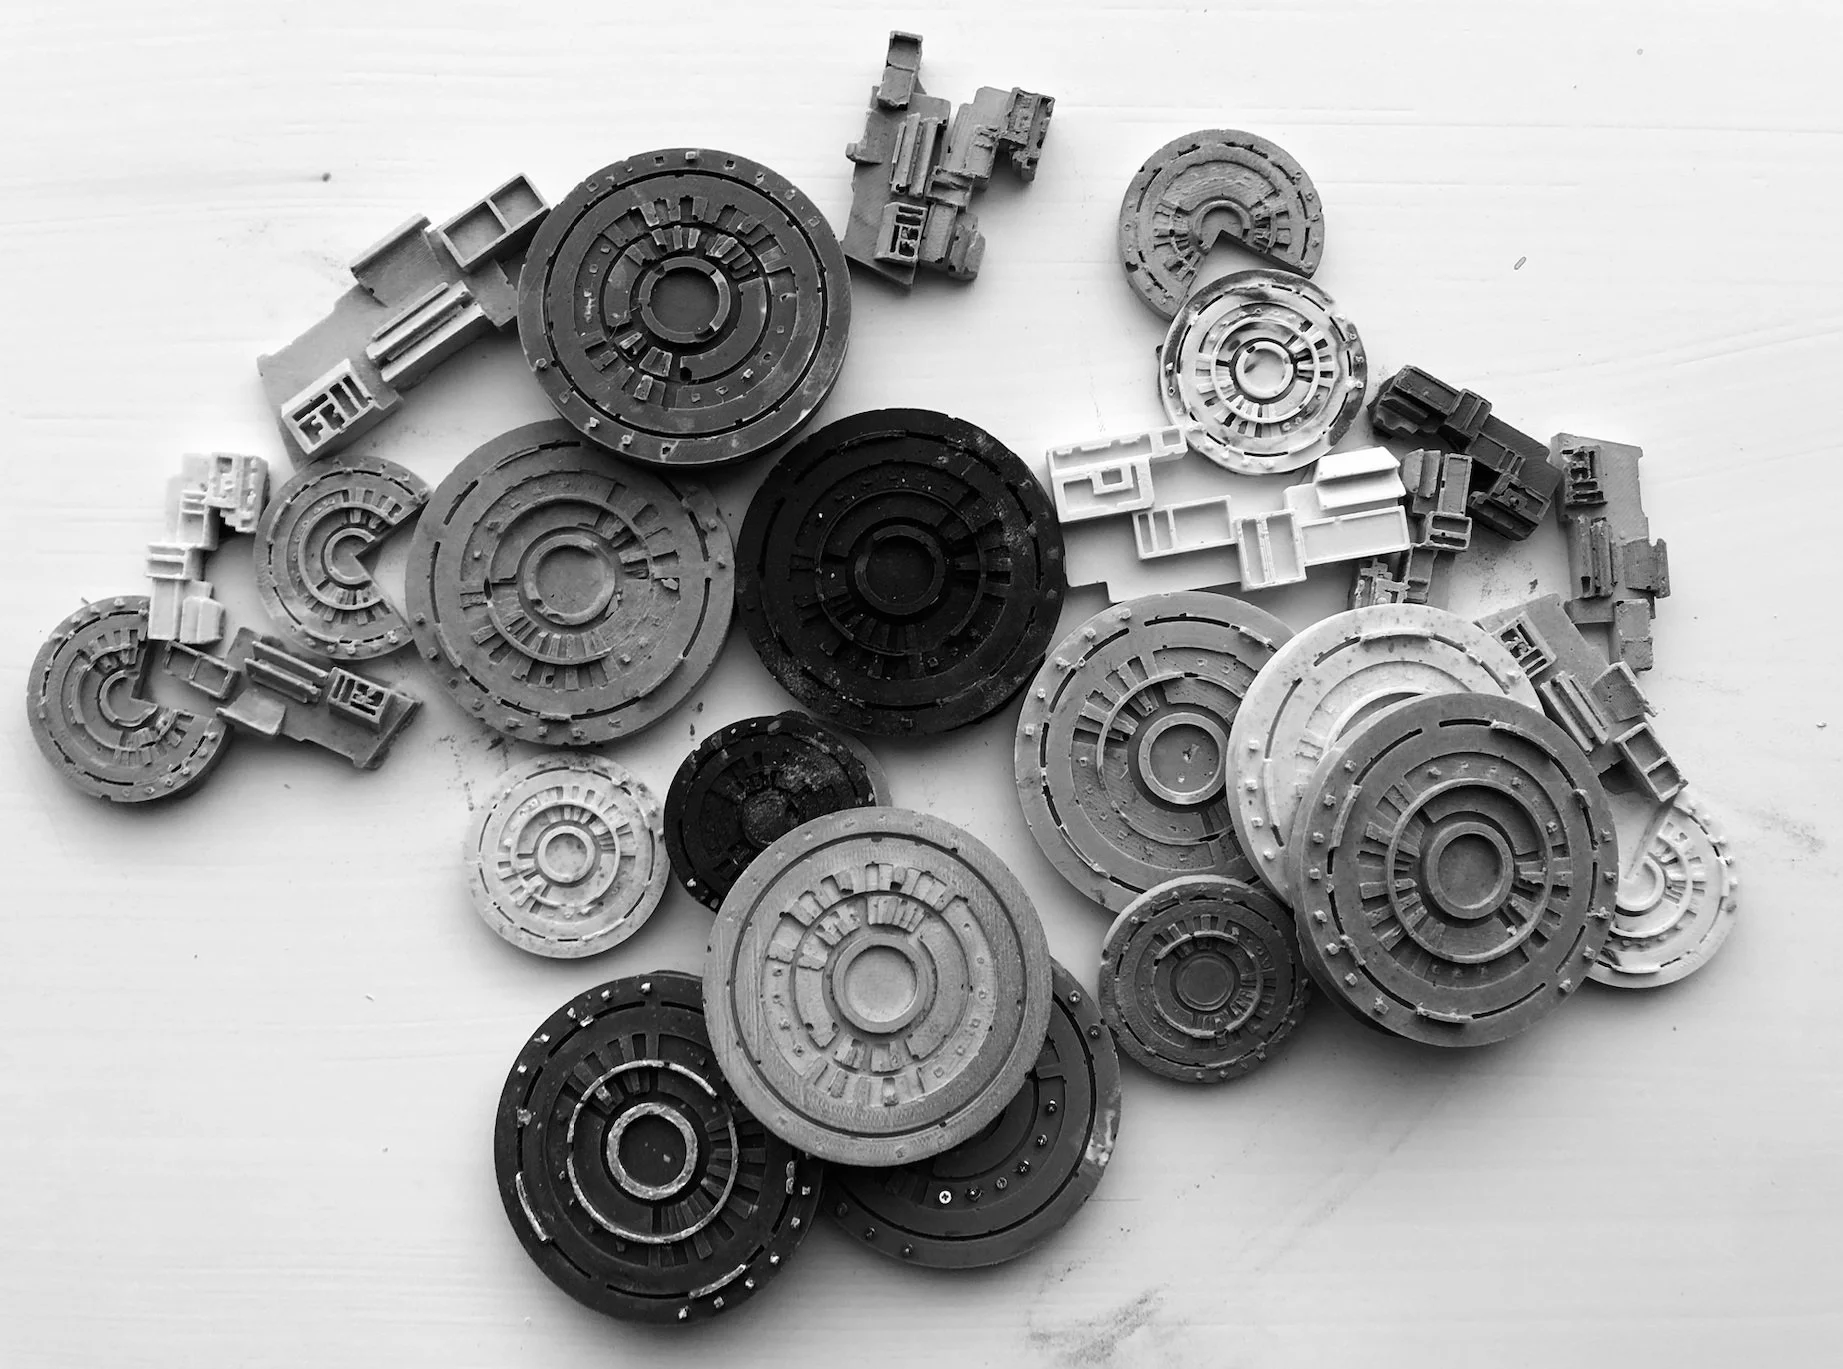
Refining the shape

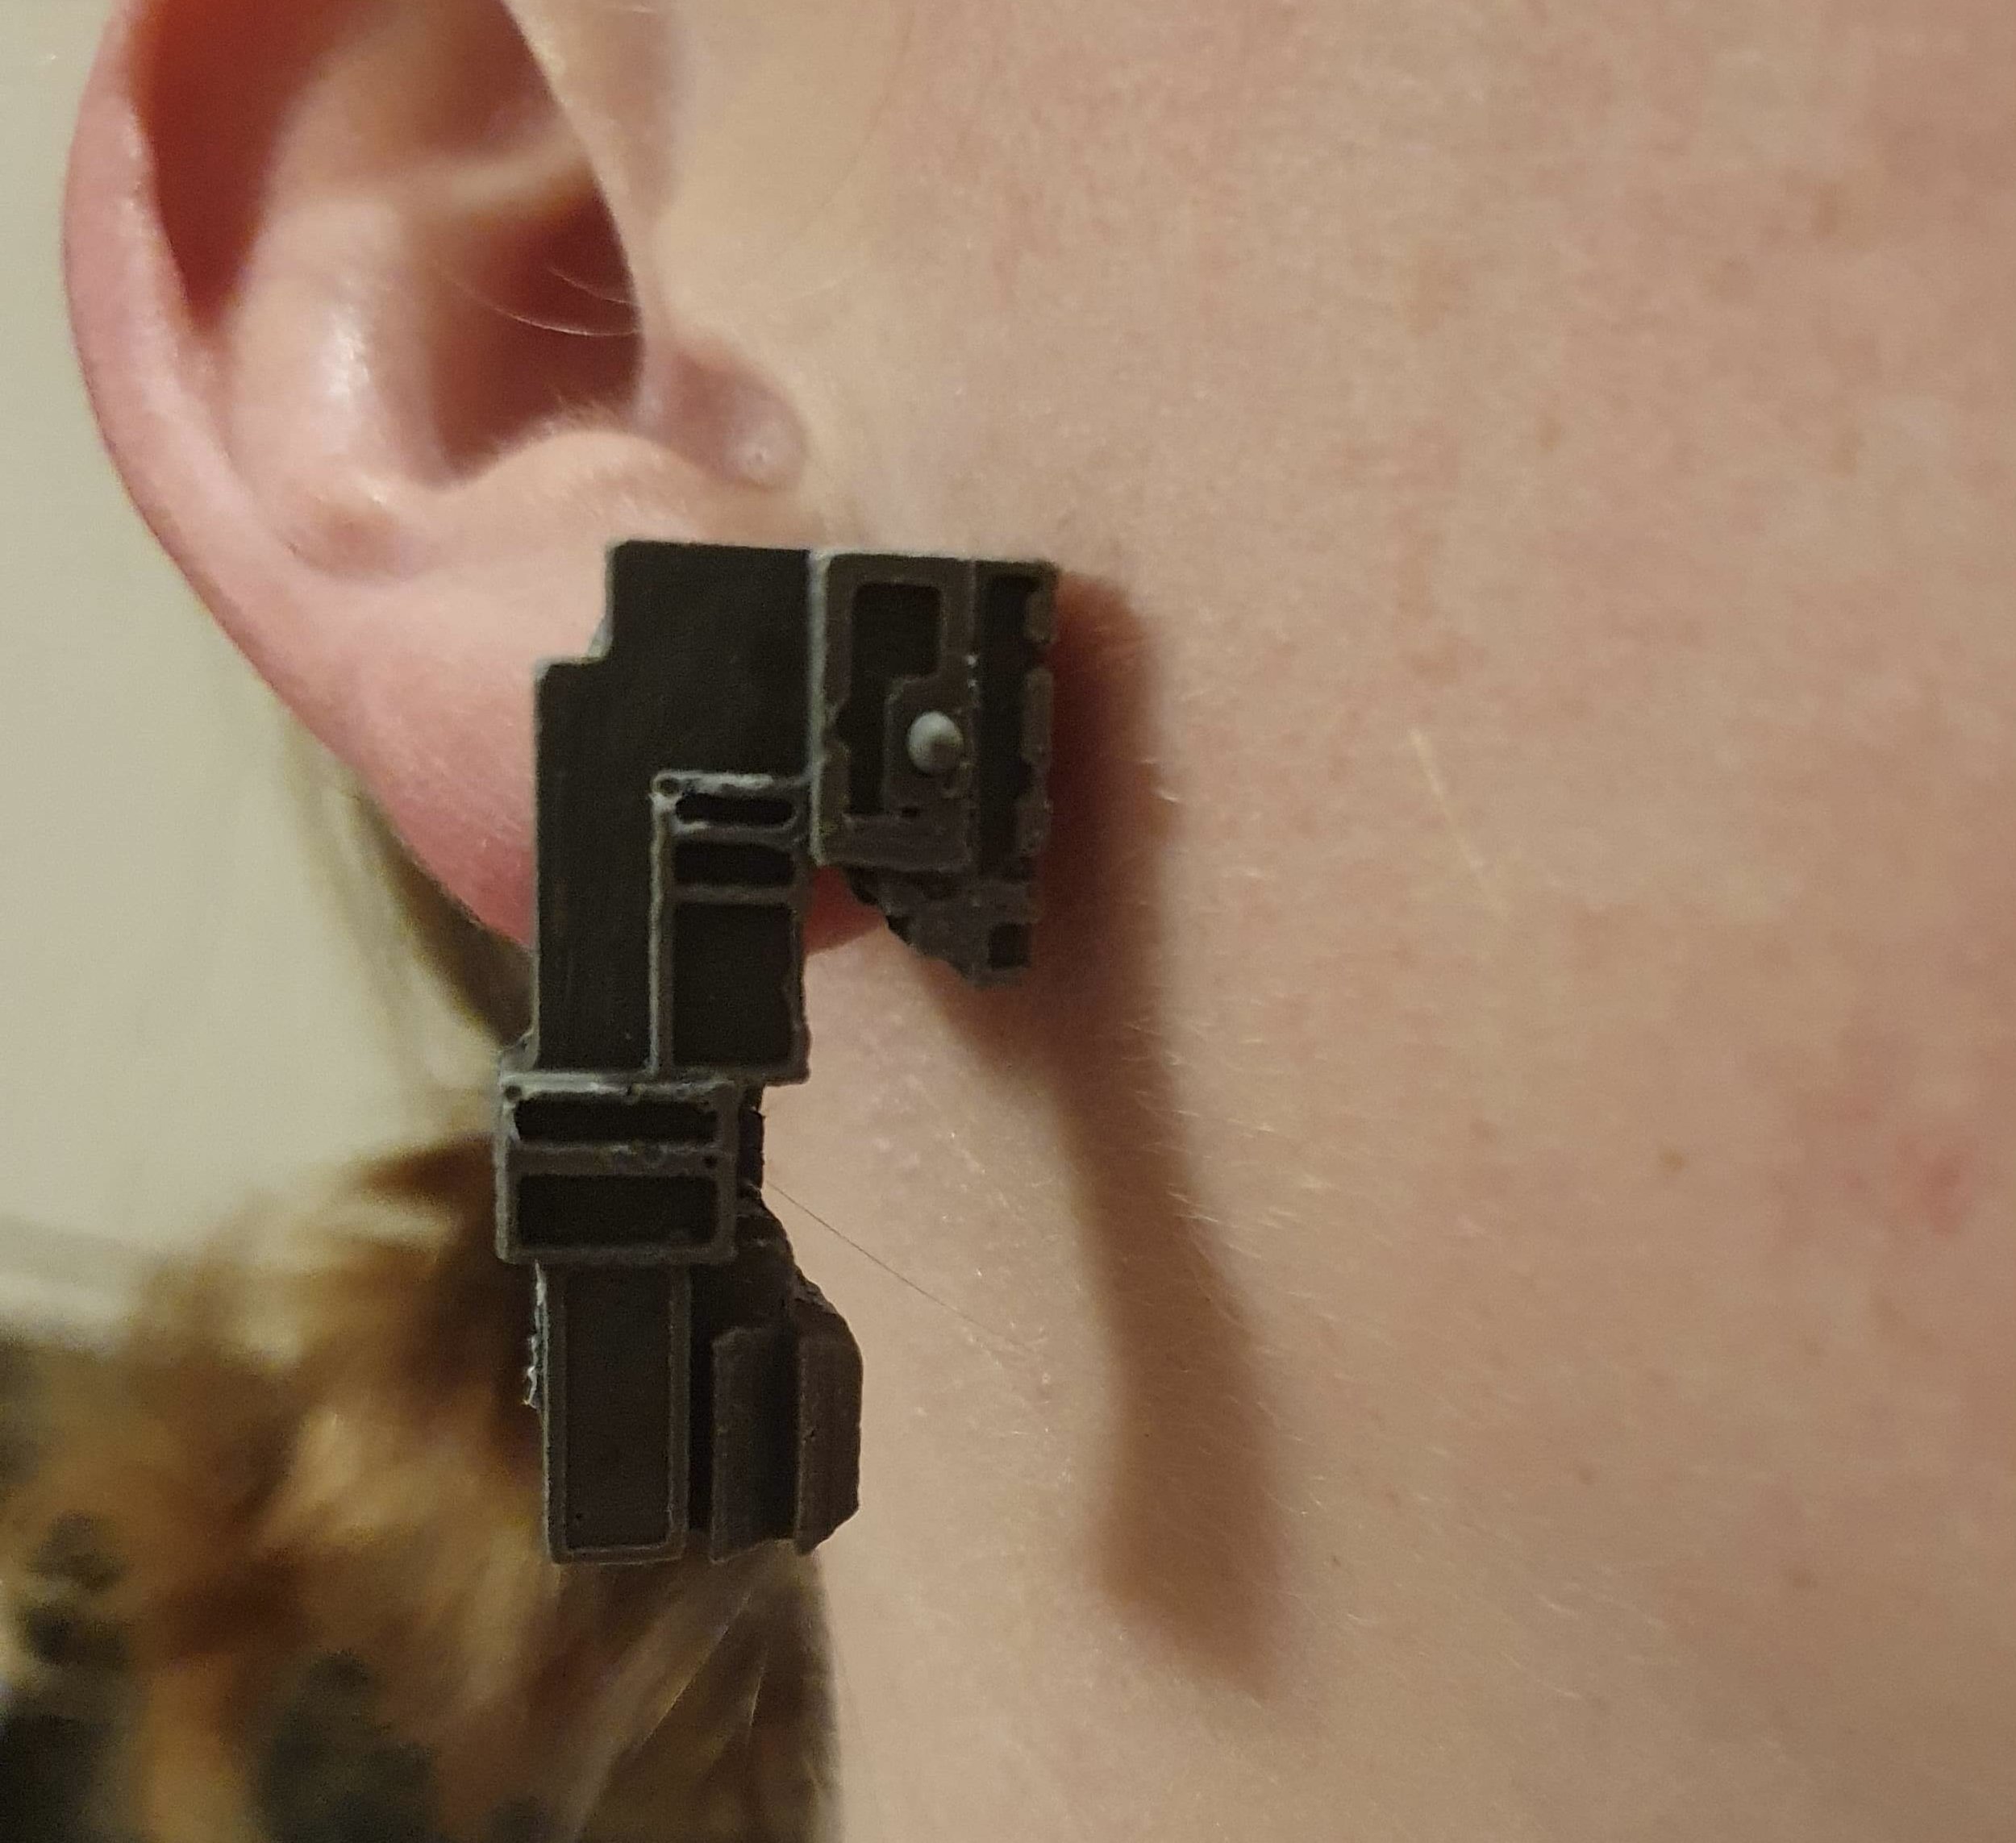
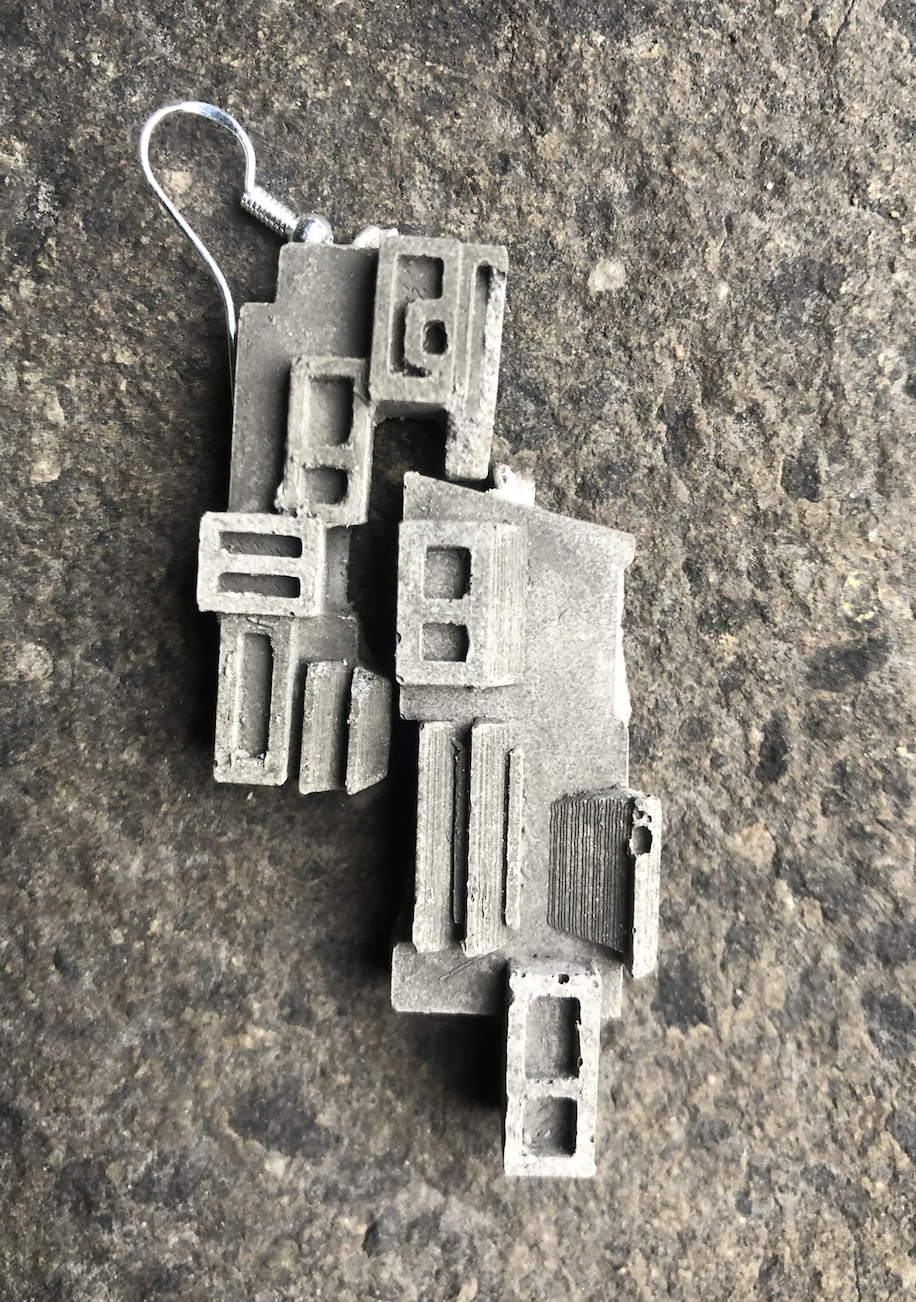
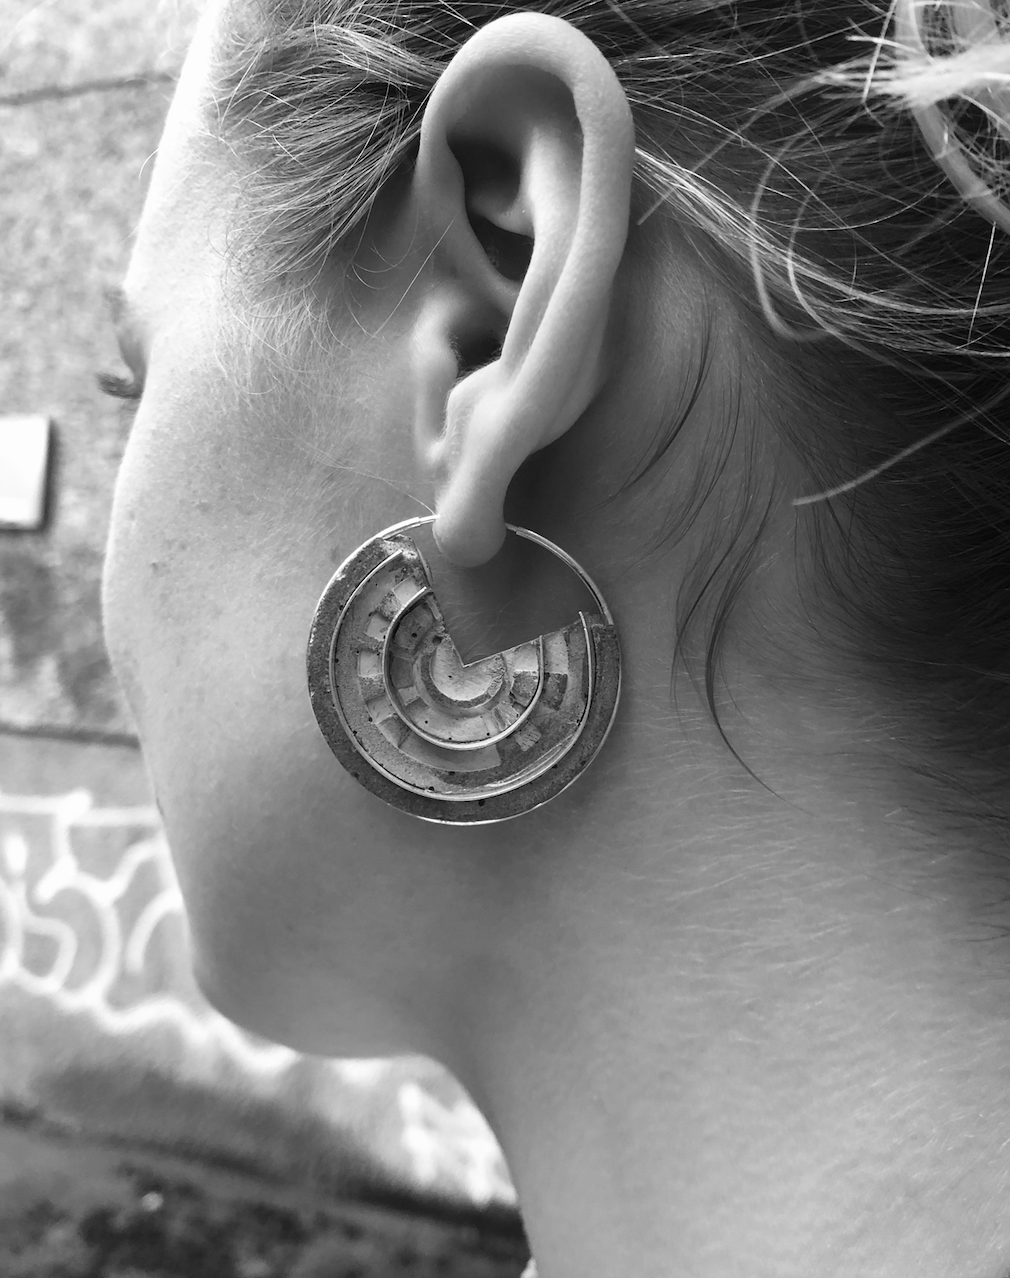
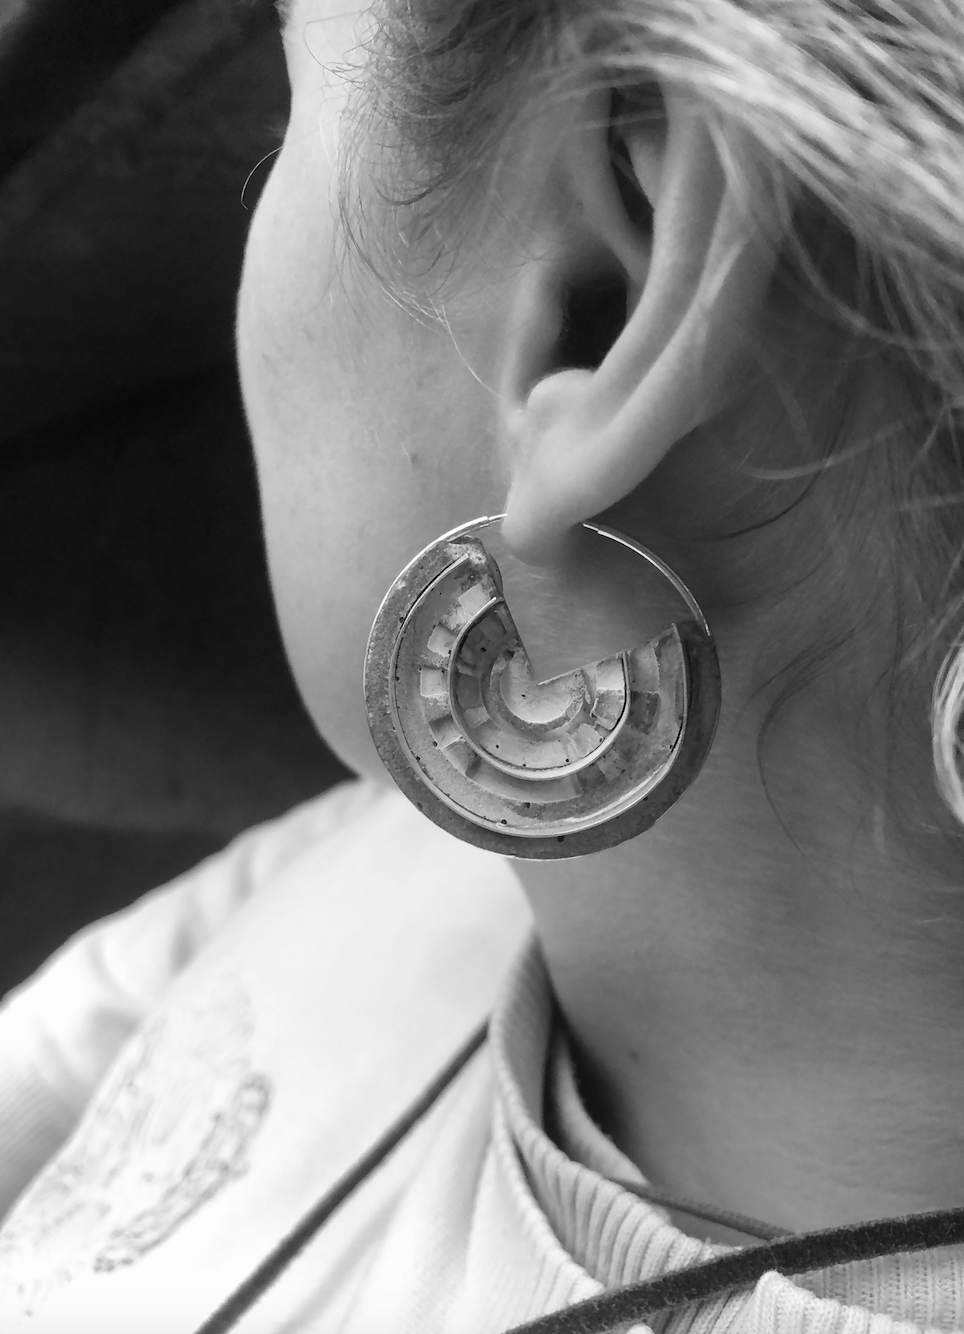
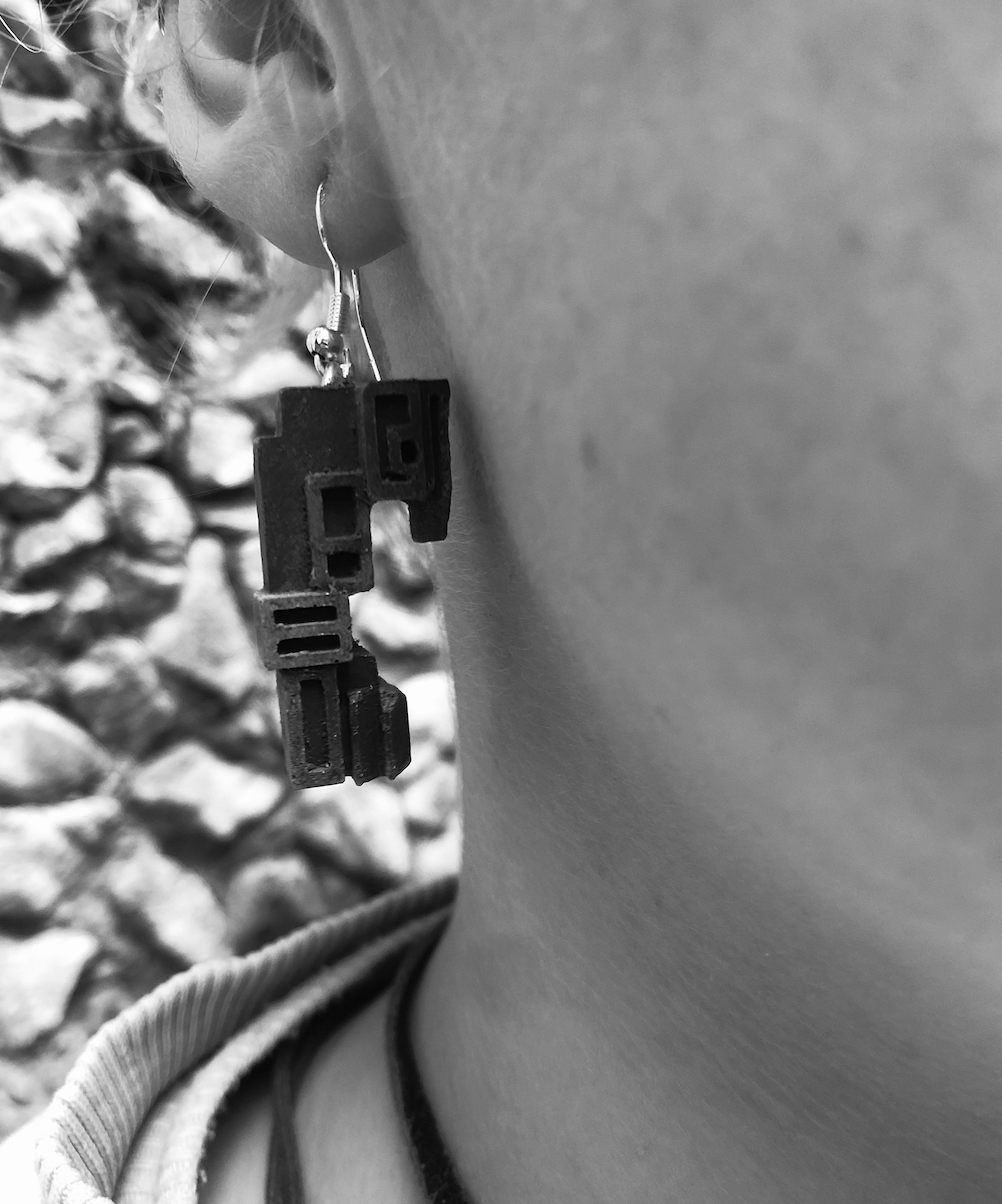
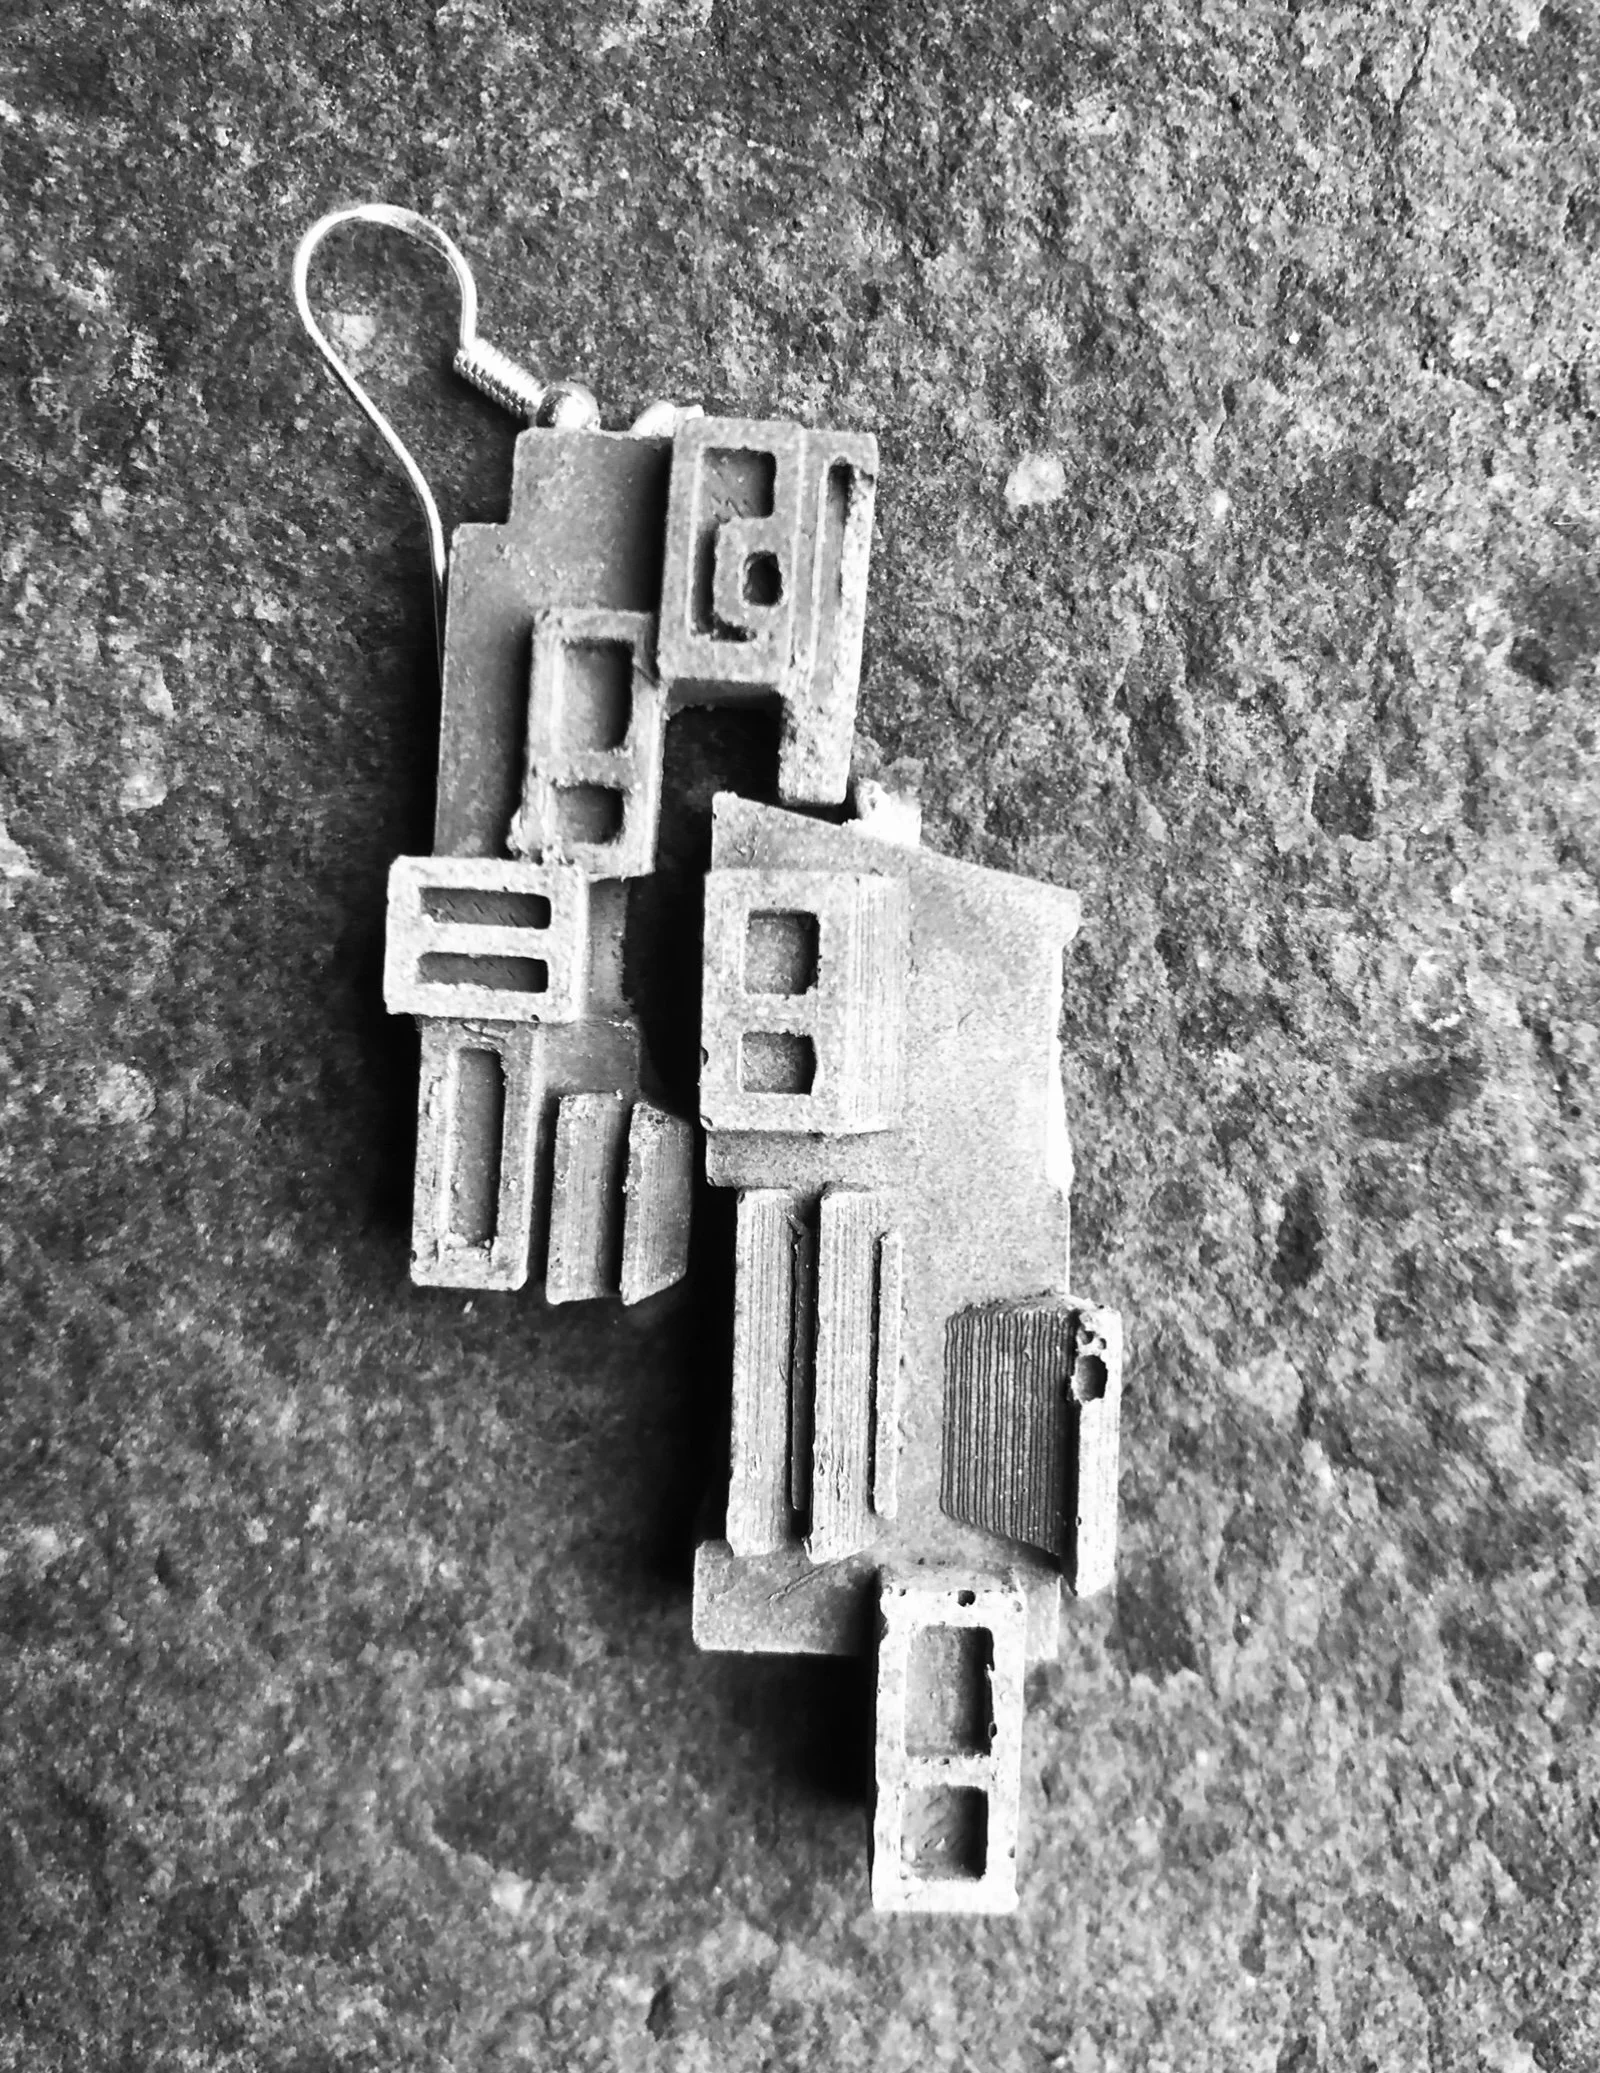
I decided that I wanted the jewellery to be inspired by the architecture of big tech companies, as they created interesting forms from above and it was easier to create an effective design on CAD to be printed of buildings rather than of natural forms.
Design Journal quote:
“Having researched the recent history of the companies of silicon valley, especially the rise of the largest cooperations in the world: Apple Google and Facebook. I became interested in why they are now all making lavish buildings, all employing famous architects to make their headquarters more extravagant than the rest, but for what reason? Dominance, to leave a legacy, to entice new talent, to use some of their dusty bullions, or to publish themselves as futuristic and innovative? Despite their real innovation having stopped a long time ago, leaving them to build upon their old ideas, fighting a Cold War with the nearest competitor. Whatever the reason may the architecture is undoubtably stunning, suitable to inspire the design of an exciting piece of jewellery with an interesting story behind it.”


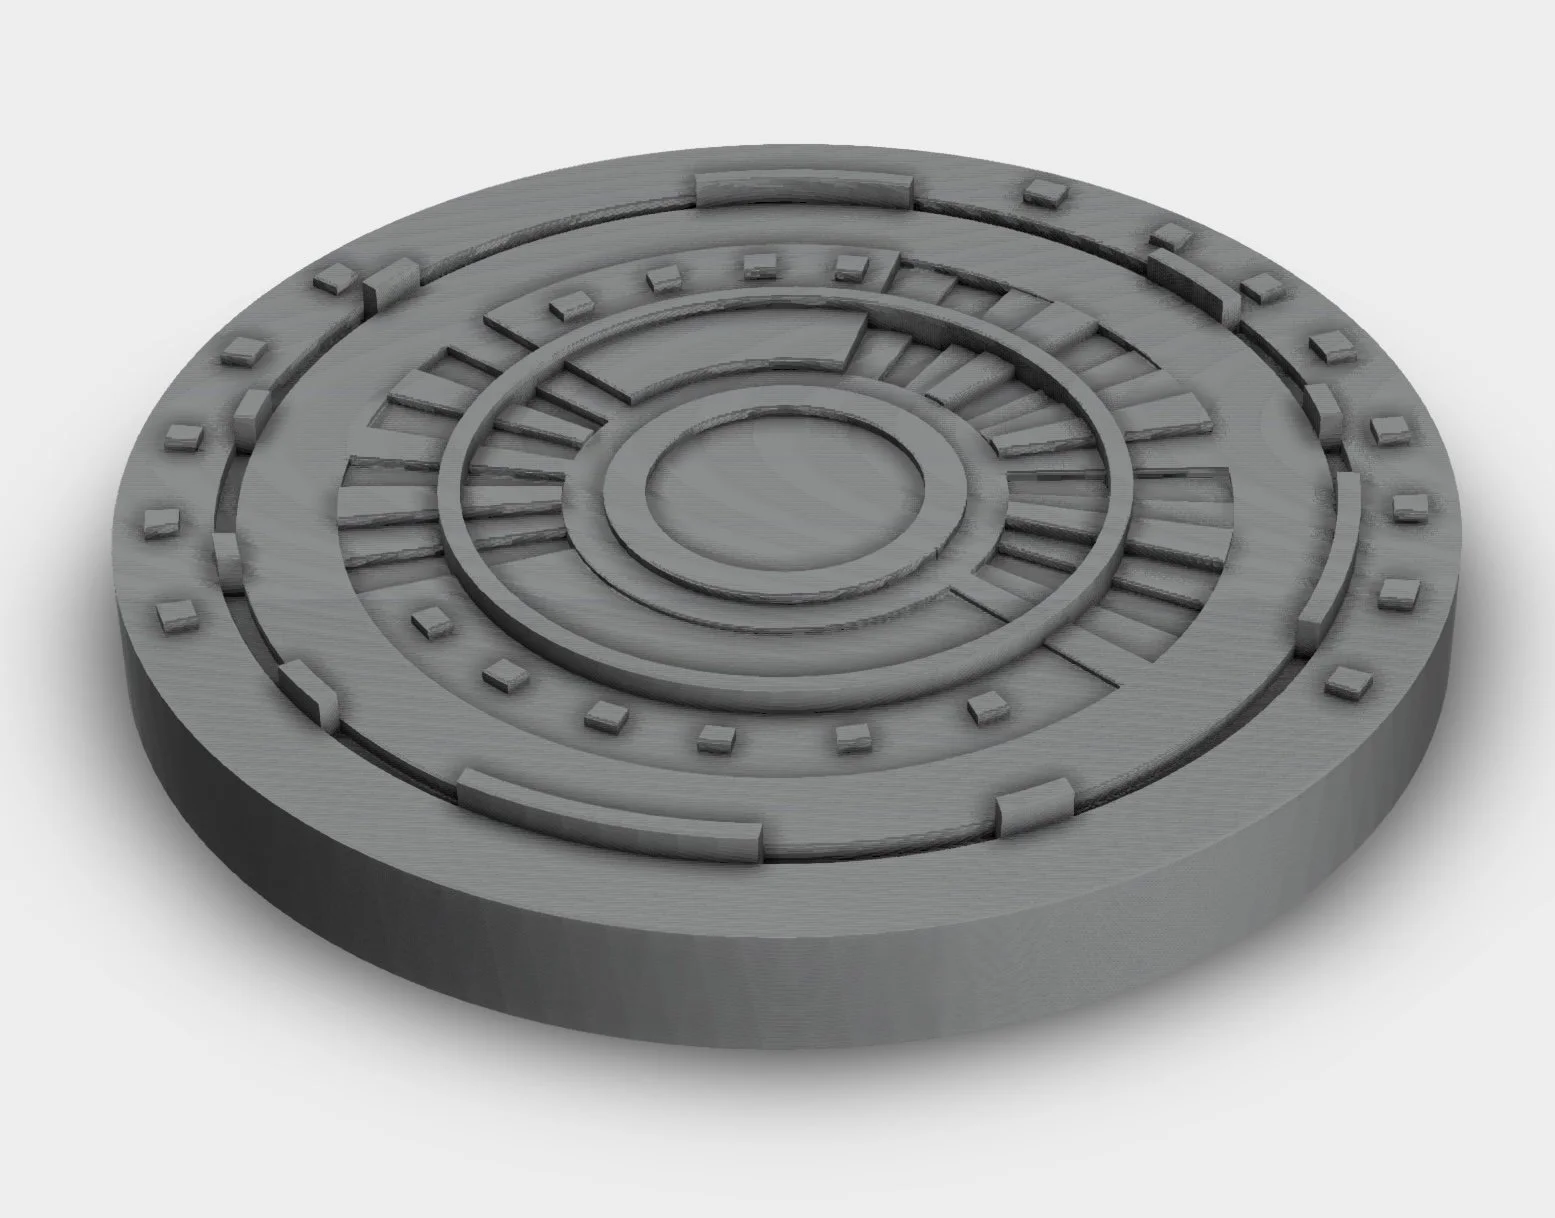
CAD + initial 3D prints
Drawing inspiration from the buildings form, I created initial shapes in Fusion 360 and 3D printed them to see their interaction with the body.


Apple


Casting
Gelatine moulding
I wanted to find a more sustainable method to silicon moulding so I experimented with gelatine + glycerin. It could also be melted and reused. I made experimental shapes with jesmonite and concrete to test the method. Unfortunately it didn’t work with the concrete as it kept it to moist, so it just crumbled and fell apart and silicone moulds had to be used.


Why casting?
I wanted the piece to feel luxurious and it I didn’t have access to a 3D printer that could print in a material that could be worn as jewellery. Therefore, I used the print to cast in moulds instead.
Material experiments
In the silicone moulds I experimented with many different combinations of materials that could be cast: jesmonite, concrete and many different additives to those materials.


Concrete = binding material + aggregate + water + admixture
Concrete = Cement + Sand + Water + Pigment


Material decision - Jewellery cement
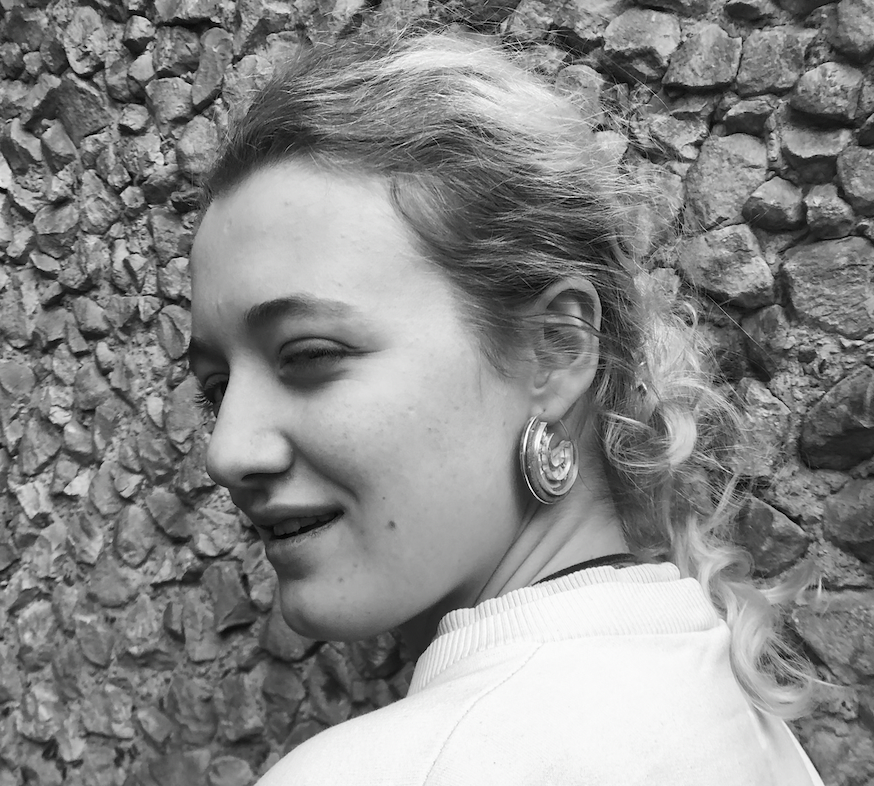
Plain jewellery cement was the most reliable with no extra sand (or marble powder in it as this made it crumble). It took 12 hours to dry and was surprisingly a lot lighter than other pieces. Therefore, I decided to just make earrings (as they had to be under 10 grams each to be comfortable to wear - which they were). I also added some blue and black pigments in various amounts to change the shade of concrete and give each different earring a unique twist..
I did want to make necklaces as well but I realised during this experimentation that it was difficult to get the concrete not to snap when it was larger and thinner.
Concrete experiments
Why concrete?
The choice of concrete came as a response to the architecture inspired design as well as it being heavier and thus feeling more expensive. The concrete juxtaposes the futuristic connotations of these companies. I experimented with various combinations of the cements and sands below.
Making and finishing

Design progression.
Final making process
To make sure the concrete flowed perfectly into the intricacies of the silicone moulds I painted the moulds with a slurry (runny water and cement mixture) before filling them with concrete. Banging the mould hard on the table also helped with this.I found that the best curing time was 12 hours under the radiator and then another 1.5 days out of the mould to fully cure before finishing.


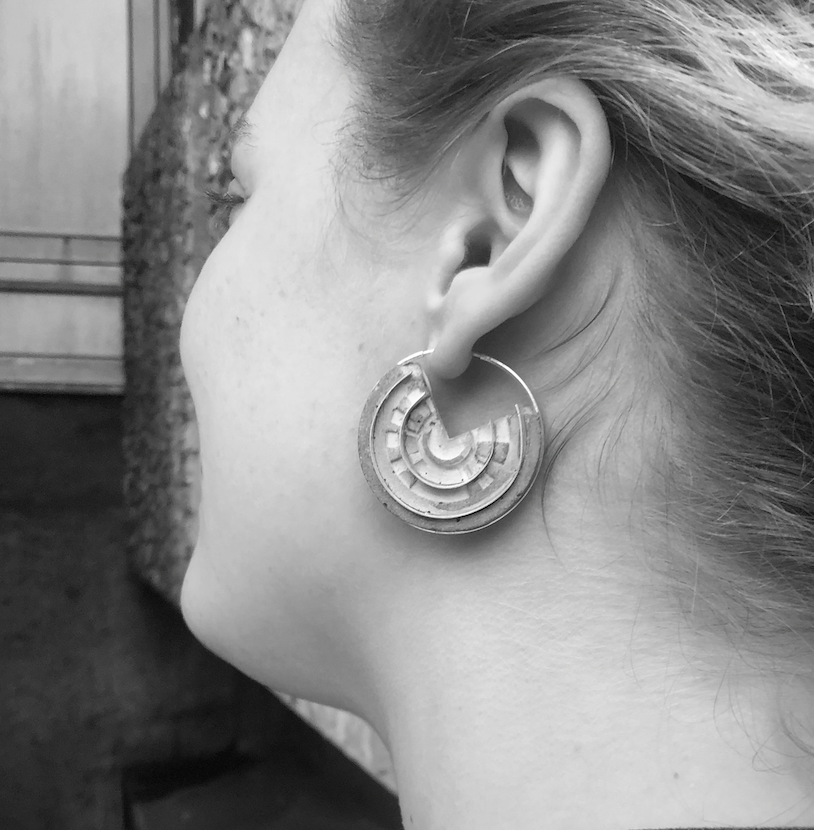
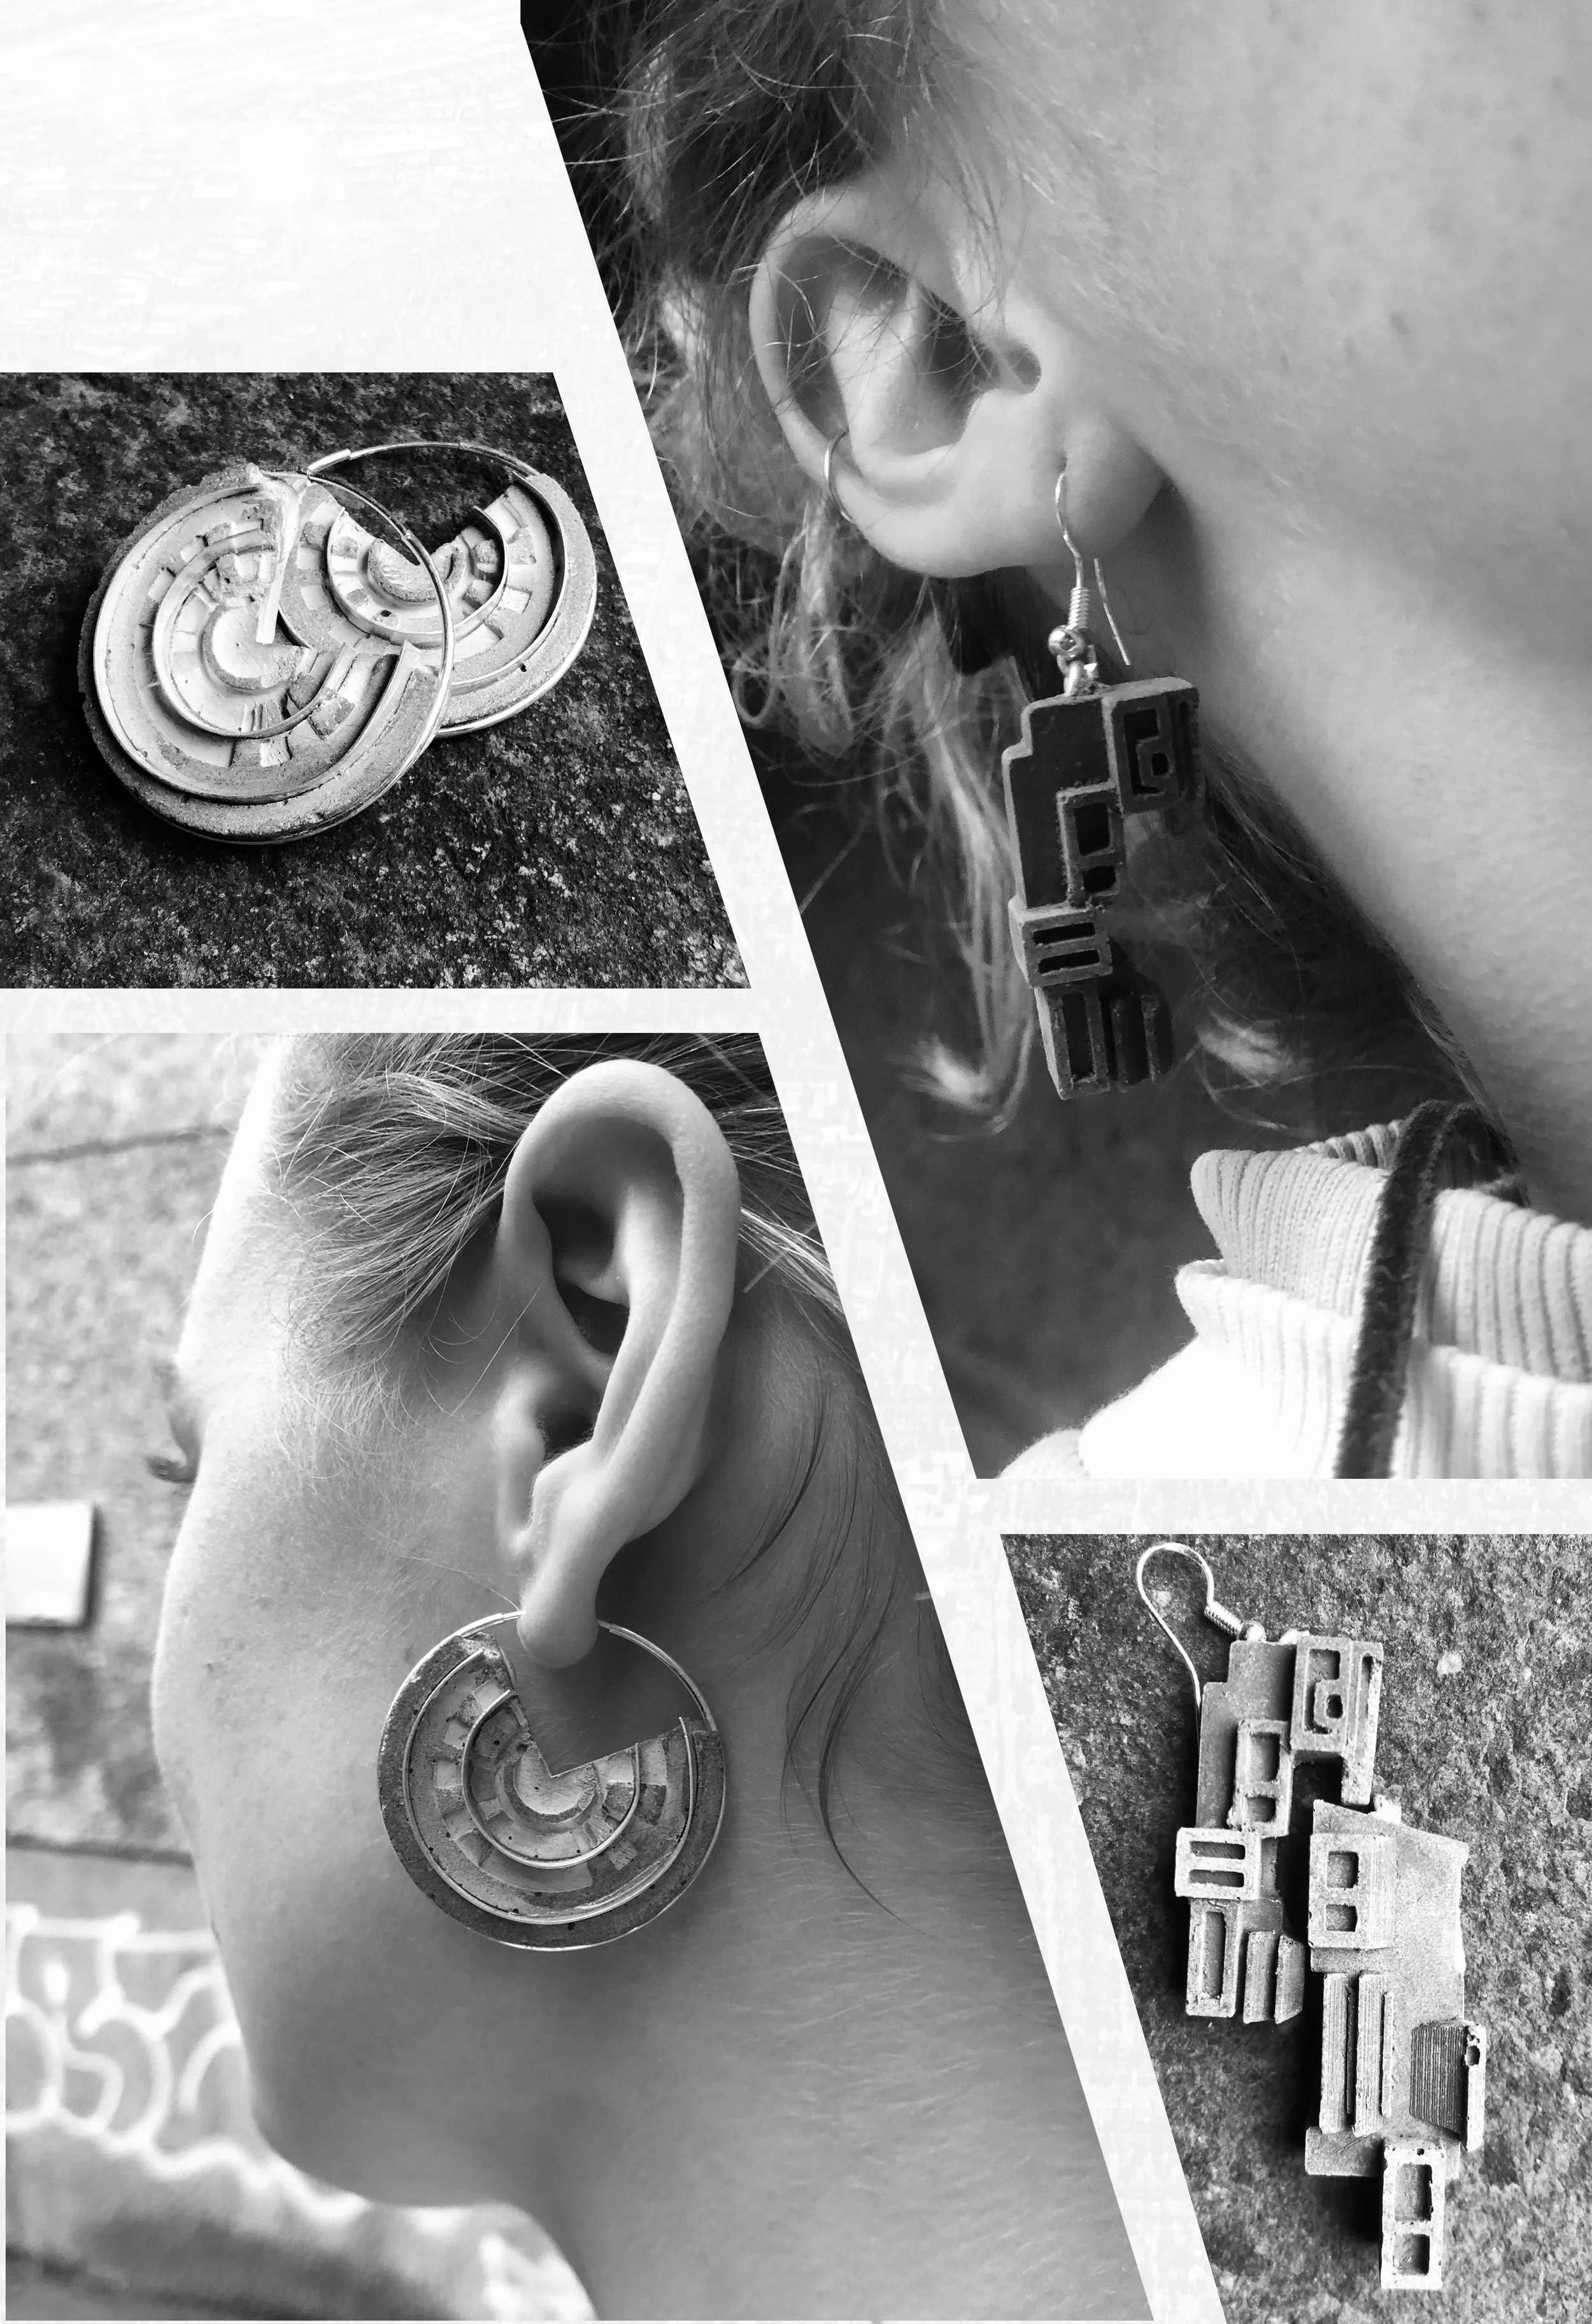
Silver additions
To add to the luxurious feel of the product and to attach to the ear I wanted to add silver to the earrings. I chose silver as its mainly hypoallergenic and isn’t too expensive.
I experimented with silver lines in the grooves of the apple and silver rings on the google piece.

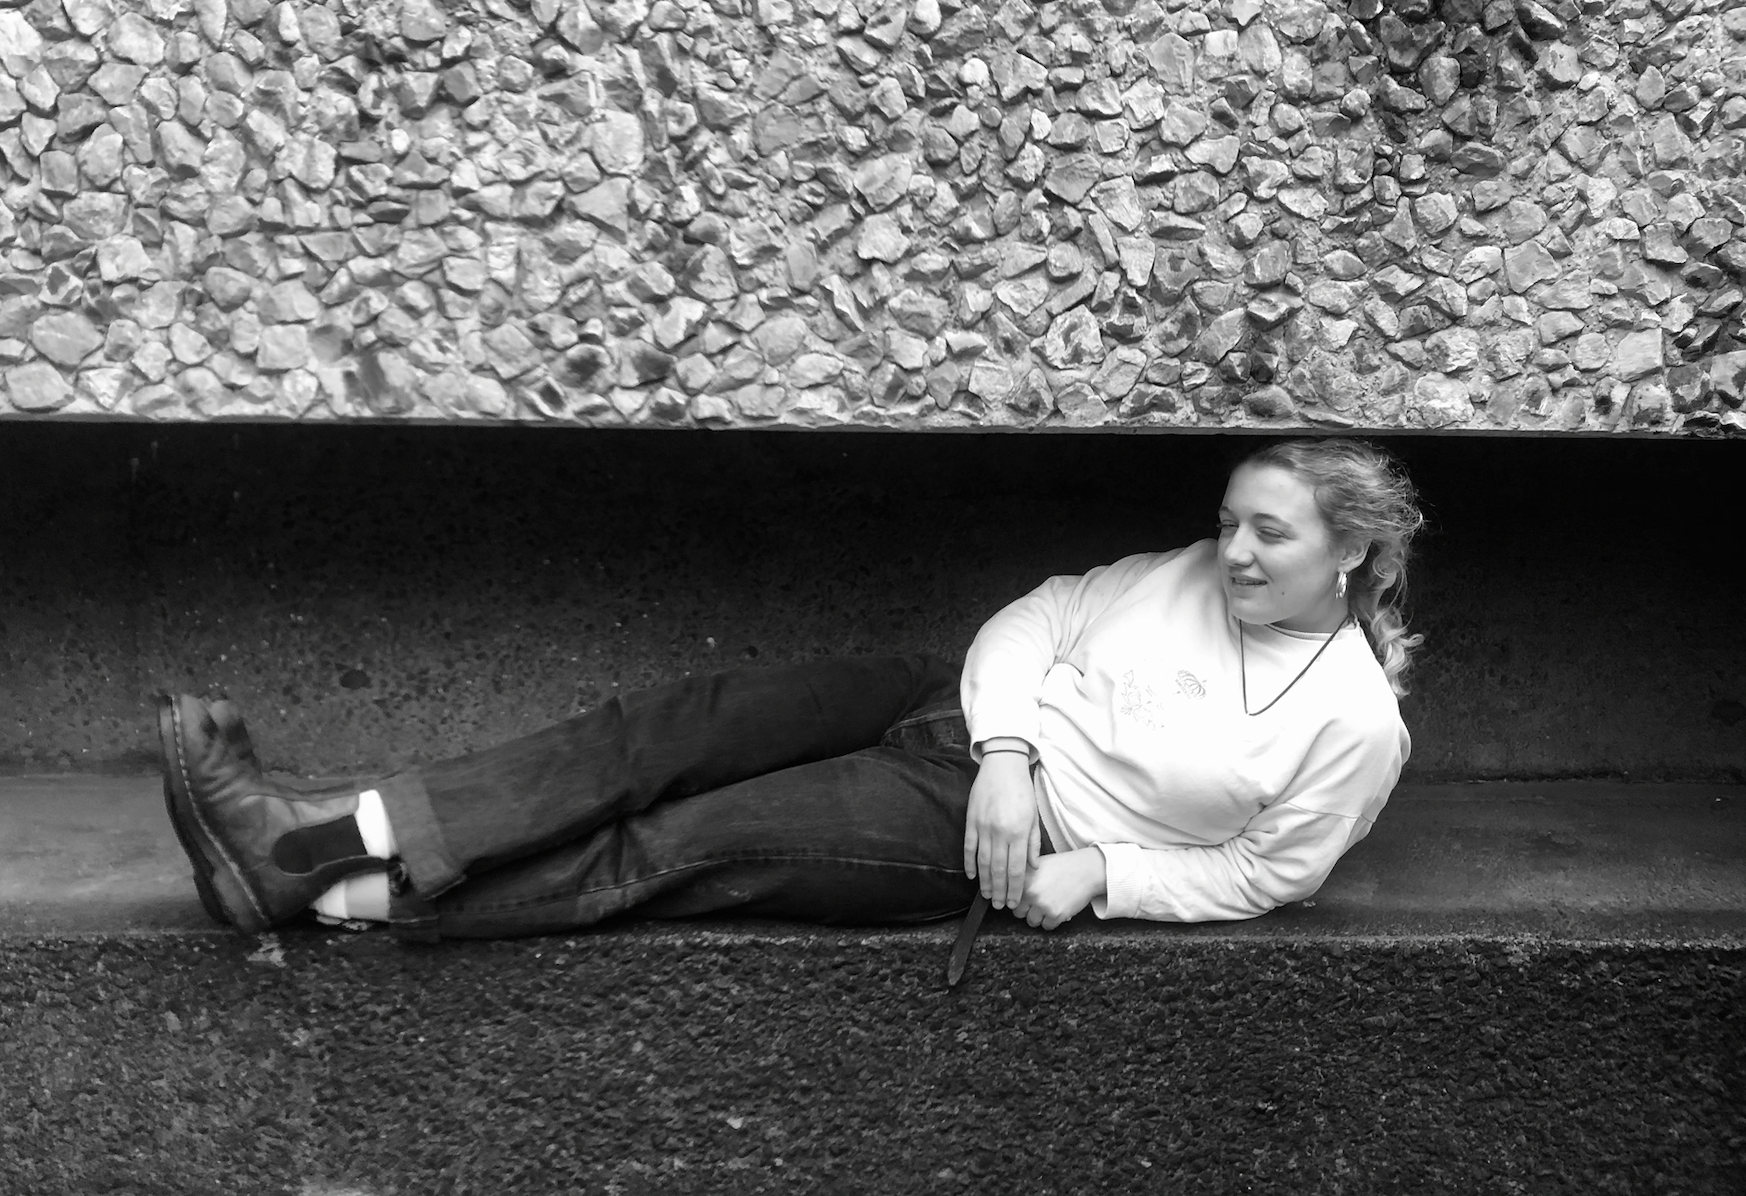
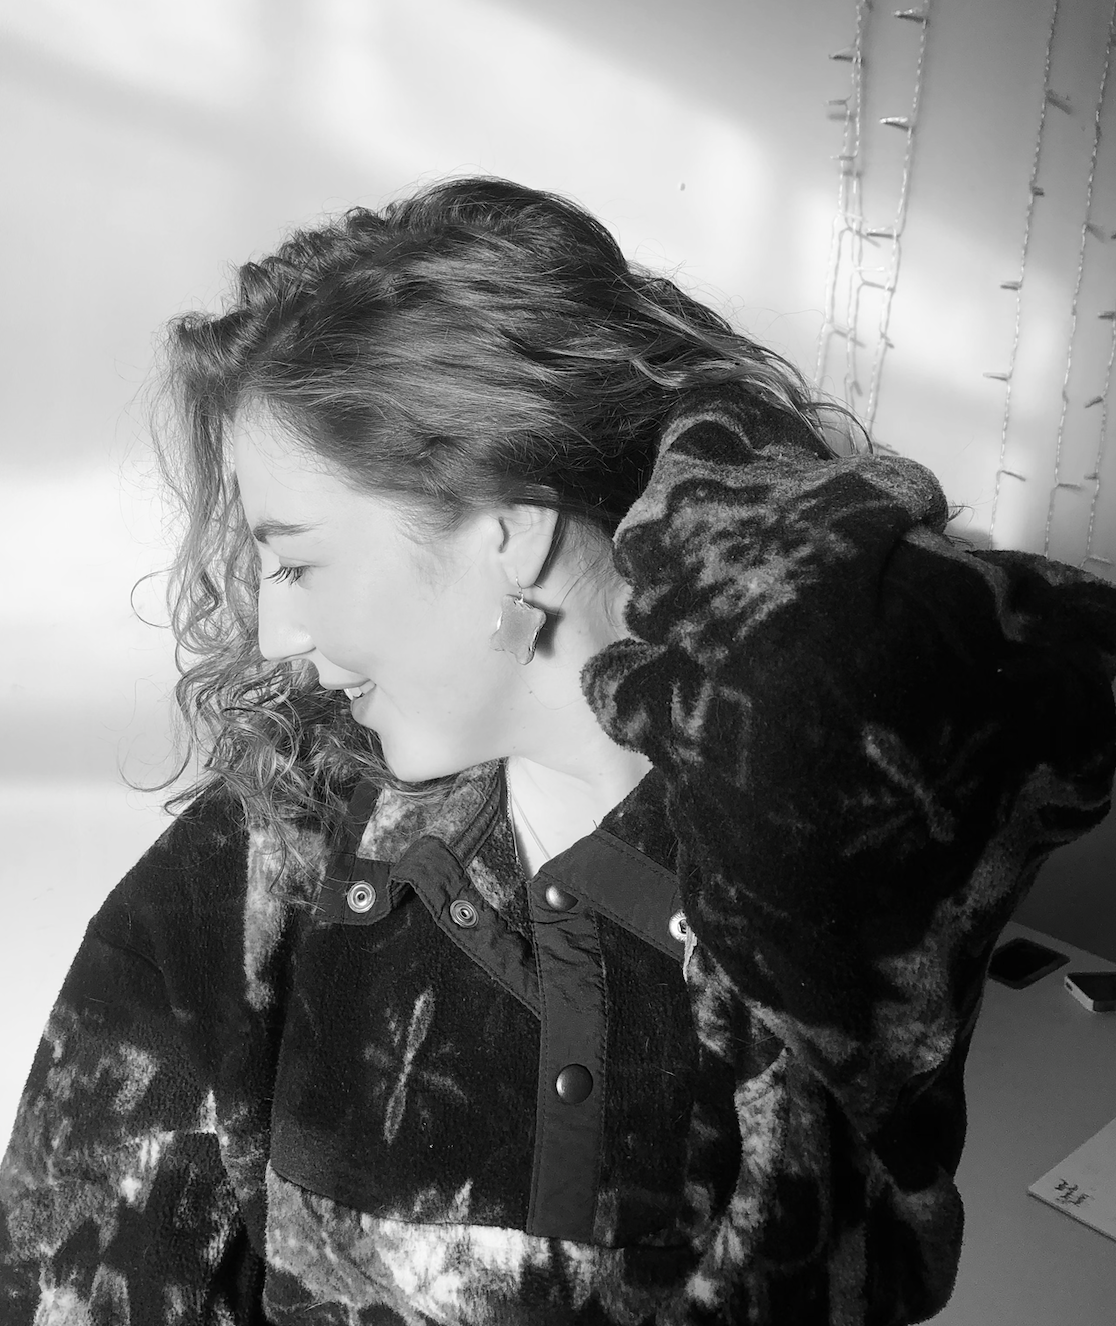
Photoshoots

Finishing
Although the rustic concrete look was nice, to connote luxury I need to fill al the small holes and polish the concrete.
To fill the holes I painted a slurry over the piece and allow to dry for 20 minutes.
Sand with 200 grit sandpaper and increase to 1500 grit
Buff with a micro fibre cloth
Wax with marble wax.


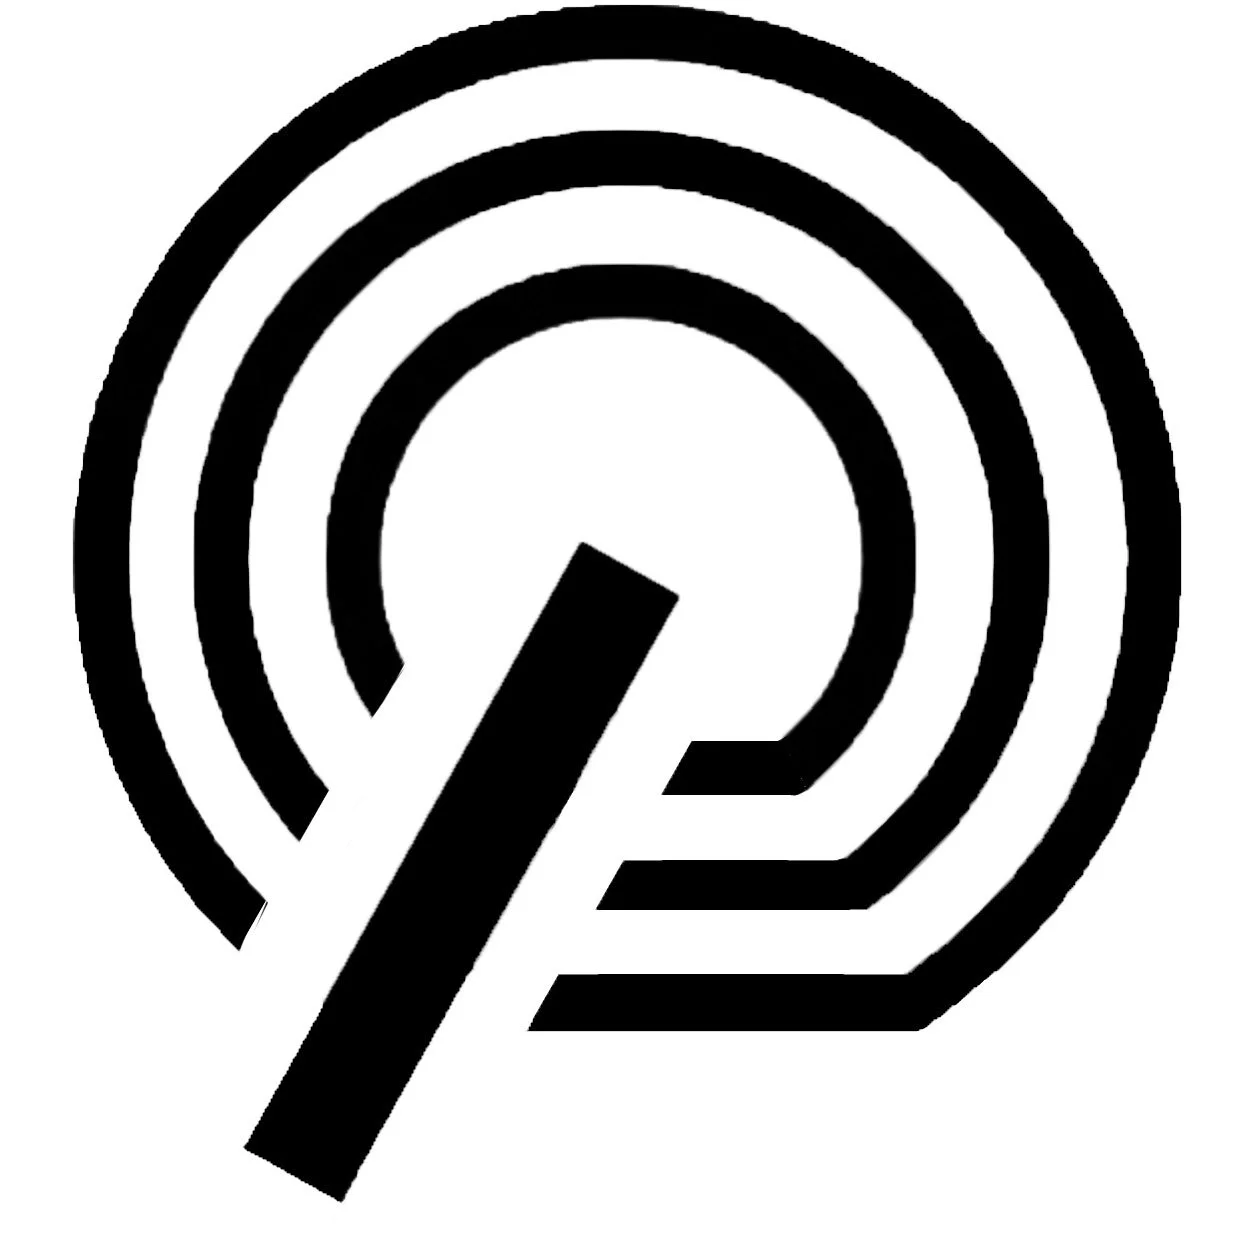
Branding + logo design
We had to give a story behind the piece to help focus the branding


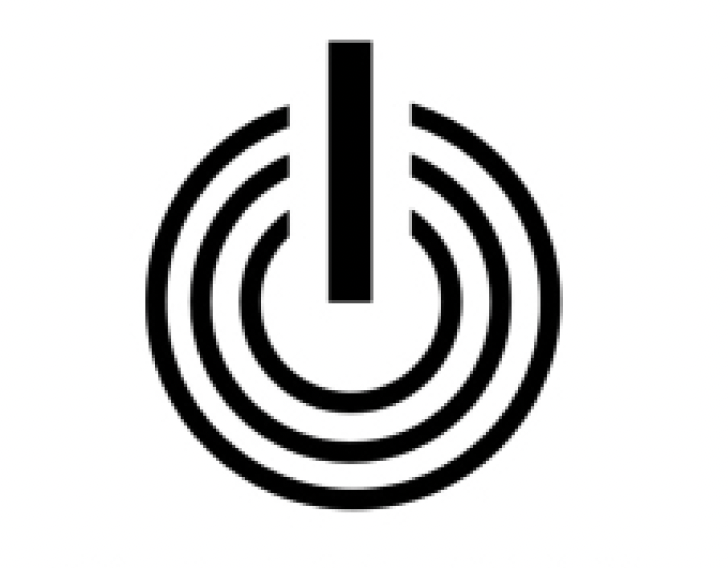
The logo design reflects the theme and story well and was inspired by the power button. It is similar to the design of the Apple earring and it fits with the jewellery well.